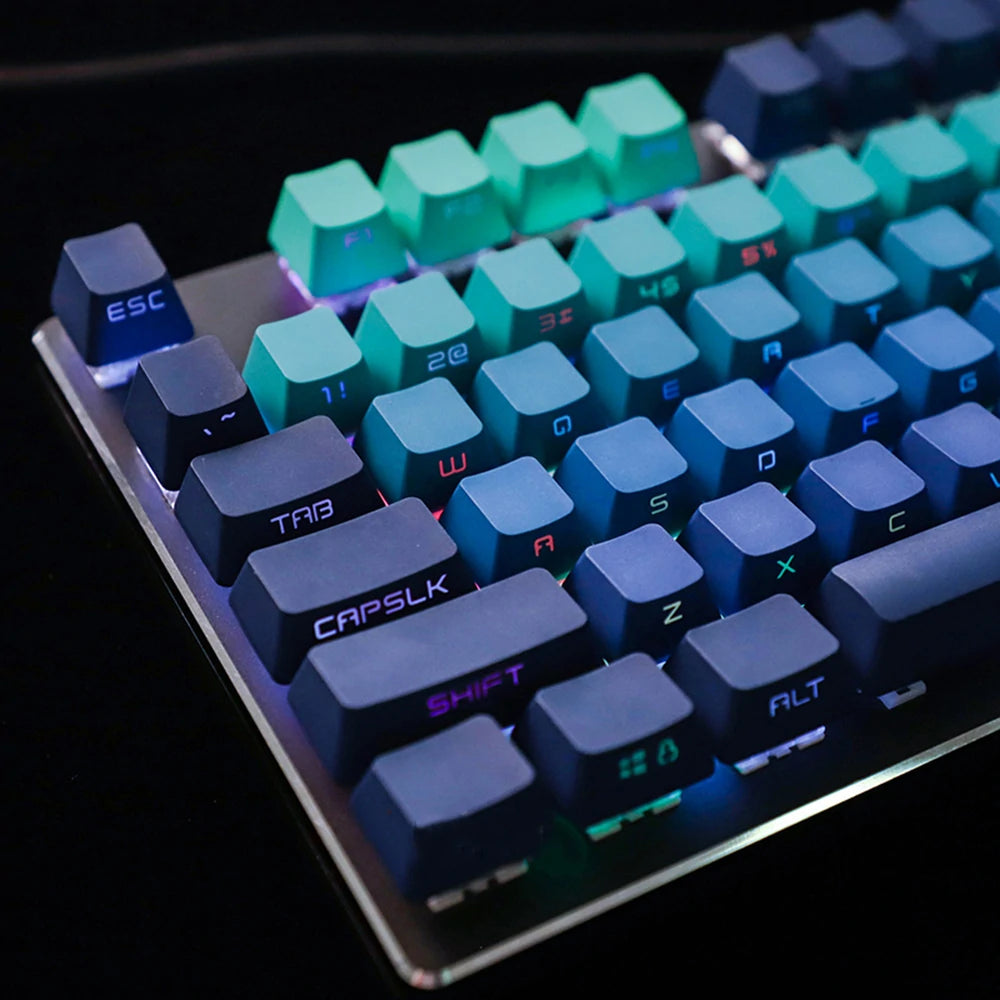
Creating custom keyboards is an intricate hobby that merges personal expression with ergonomic functionality. Enthusiasts of this craft seek to design mechanical keyboards that are not only aesthetically pleasing but also tailored to individual typing preferences and needs. The process begins with choosing a base or a case, which houses all other components and sets the stage for the keyboard's final look and feel. From the sturdy foundation of the base, each element—switches, keycaps, cables, foam pads, stabilizers, and dampeners—is meticulously selected and often customized to fine-tune the typing experience.
Switches are at the core of a mechanical keyboard's functionality, determining the tactility, sound, and responsiveness of each keystroke. Keycaps, the visible tops of the switches, offer a canvas for personal flair while also impacting the overall typing sensation. Meanwhile, the selection of cables contributes to both the keyboard's functionality and visual appeal, allowing for a range of connectivity options.
To further refine the acoustic and tactile properties, builders incorporate foam pads and stabilizers. Foam pads are used to minimize the reverberation within the keyboard's case, leading to a more solid and muted sound profile. Stabilizers, on the other hand, ensure that larger keys operate smoothly and remain free from wobble or uneven action. The final touch in the assembly process is the application of lube, which can drastically improve the feel and sound of the switches and stabilizers, culminating in a truly personalized typing instrument. Each of these components plays a significant role in transforming a collection of parts into a cohesive and unique custom mechanical keyboard.
Keyboard Basics and Form Factors
Custom mechanical keyboards offer a personalized typing experience, with choices varying from size and layout to functionality. Understanding the specific needs for the user's typing habits or aesthetic preferences is crucial before diving into the vast world of custom keyboards.
Understanding Keyboard Sizes and Layouts
Keyboard sizes and layouts are an essential aspect of customization. The term keyboard layout refers to the arrangement of keys and their functions on a keyboard. Common layouts include 60%, a compact format without a navigational cluster or function row, and tenkeyless (TKL), which omits the number pad. A 75% keyboard is slightly larger, integrating the function row in a compact layout. In contrast, the 65% layout adds dedicated arrow keys and possibly a few navigation keys to the 60% size. For those who favor minimalism, the 40% layout reduces the key count further, focusing on the most frequently used keys.
The HHKB (Happy Hacking Keyboard) layout is a specialized design that emphasizes ergonomics and efficiency, removing the function row, tenkeys, and adopting a unique control key placement. Another size to consider is the 96%, which compactly maintains the functionality of a full-sized keyboard in a smaller footprint. When selecting a form factor, familiarizing oneself with the different keyboard sizes and their corresponding layouts is fundamental.
Click here to learn more about different sizes and their pros and cons.
Selecting The Right Form Factor
Selecting the right form factor hinges on the user's specific needs and desk space. Enthusiasts prioritize form factors based on ergonomics, aesthetics, and the kind of work they do. For instance, those who frequently crunch numbers may prefer a 96% form factor, offering a built-in number pad in a reduced space. Contrarily, users with limited desk space or a preference for portability might lean toward 60% keyboards, delivering a neat and uncluttered setup. It is the interplay between personal preference and practical functionality that guides the ultimate choice of the keyboard form factor.
The Anatomy of a Custom Keyboard
Custom mechanical keyboards are a sum of their parts, each meticulously chosen for their performance and aesthetics. Grasping the intricacies of these components is crucial for builders.
Key Components
Custom keyboards are comprised of several key components that include the PCB (printed circuit board), switches, stabilizers, keycaps, and case. The PCB is the foundation, hosting the electrical circuitry that registers each keystroke. Switches, which consist of a stem, housing, and spring, are the heart of the keyboard's feel and sound. Stabilizers are used to level out the larger keycaps such as the space bar and enter key, and these can be plate-mounted or screw-in types. Keycaps sit atop the switches and come in various materials, with PBT plastic being a popular choice for durability and feel. The keyboard case encompasses and protects the internals, affecting acoustics and rigidity.
Case Materials
Case materials influence the keyboard's weight, sound, and aesthetic. Common materials include:
- Aluminum: Known for its sturdiness and premium feel
- Polycarbonate: Offers a lighter alternative with a unique sound profile
- Brass: Usually used for weight plates but sometimes utilized in cases for heft and acoustic properties
- Carbon Fiber: Recognized for its strength-to-weight ratio and distinct appearance These materials can drastically alter the final build's character, making the choice a significant one for enthusiasts.
Types of Mounting Systems
The mounting system dictates how the internals of the keyboard are affixed to the case, greatly affecting the typing experience:
- Tray Mount: The PCB and plate screw directly into the case—simple and cost-effective.
- Top Mount: The plate screws into the top part of the case, offering a balanced feel.
- Gasket Mount: Utilizes a gasket for a cushioned typing experience and is currently a sought-after feature for its sound dampening qualities.
- Sandwich Mount: Clamps the plate between the top and bottom case, resulting in a firm typing surface.
- Plate Materials like FR4, aluminum plate, and carbon fiber offer variety in flex and sound conduction. Custom keyboards often feature RGB lighting for aesthetics, which is integrated into the PCB and shines through the switch housing and keycaps if they are translucent.
Assembly Tools and Accessories
When assembling a custom keyboard, the right tools and accessories are essential for a successful build. They not only facilitate efficient assembly but also ensure the integrity and performance of the final product.
Basic Tools Needed
Soldering Iron: A primary tool for building a keyboard with a standard PCB, a soldering iron is used for attaching mechanical switches and stabilizers to the board. It's important to choose one with adjustable temperature controls for precision. It is important to note that a popular choice in keyboard customization is to opt for hot-swappable PCBs, allowing switches to be inserted and changed without soldering.
Our Keyboard Kits feature several options with hot-swappable PCBS, making them the perfect choice for any custom keyboard project.
Screwdriver Set: Various screws are involved when assembling a custom keyboard, including those for securing the PCB to the case. A set of screwdrivers with different sizes and heads is crucial.
Tweezers: These are indispensable for handling small components such as switch films and placing them accurately.
Keycap and Switch Puller: A puller is necessary to remove or replace keycaps and switches, especially when dealing with hot-swappable PCBs where installing the switches can be done without soldering.
Solder Sucker: If you make a mistake while soldering, a solder sucker becomes invaluable to remove excess solder from the PCB.
Flush Cutters: Essential for trimming excess leads from components after soldering, granting a clean finish.
We have all the tools you need for a successful build. Check them out.
Enhancing the Keyboard Build
Lube: Products like Krytox 205g0 are often used to lubricate switches (be it tactile or linear) and stabilizers, reducing friction for a smoother typing experience.
Switch Films: These thin materials are added between the top and bottom parts of a switch to reduce wobble and enhance the sound profile.
Stabilizers: Key components for stabilizing larger keys, keyboard stabilizers are installed onto the PCB or plate, ensuring even key movement.
Dampeners: Foam pads or silicone mats can be placed within the keyboard casing to dampen the sound and absorb any reverberation, improving the acoustics.
USB Cable: A high-quality USB cable ensures stable connectivity between the keyboard and the computer. Check out our selection of cables here.
Enthusiasts building a custom keyboard may also explore additional accessories like switch testers to sample the feel of different switches before committing to a full set. Online retailers like Epomaker offer a range of products for custom keyboard projects, from parts like tactile switches to tools and accessories.
Programming and Customization
Customizing a mechanical keyboard not only tailors its aesthetic appeal but also enhances its functional performance. Two main components come into play: programmable keys for personalized shortcuts and the software that facilitates such modifications.
Key Customization Options
Key customization is at the heart of a bespoke typing experience. Users can choose from a variety of keycap materials, such as ABS or PBT, with PBT being more durable and resistant to shine over time. Additionally, keycap profiles impact the comfort and ergonomics of typing. Many enthusiasts opt for doubleshot keycaps, which offer high-quality legends that don’t wear off.
For enhanced visual appeal, RGB lighting can be configured with various effects and color schemes to complement the overall design. Brands like YMDK and KBDfans offer a plethora of mechanical keyboard kits that support extensive customization, including key-programming via hardware like PCB (Printed Circuit Board).
Firmware and Software
Firmware such as QMK firmware is the backbone of keyboard programming, allowing for advanced customization of each key. This open-source firmware empowers users to remap keys, create macros, and implement layers for multiple functions. The programming process is facilitated by software utilities that make customizing the PCB a more accessible task.
Companies like Drop and Happy Hacking Keyboard provide keyboards that support extensive programming options to suit different user needs. Lubing switches, an essential step in keyboard customization, can make keys feel smoother and less noisy. Expert users often apply this technique meticulously to improve the typing experience, demonstrating a fine level of detail in the personalization process.


Share:
The Ultimate Guide to Mechanical Keyboards: Tracing History, Components, and Current Trends
Mechanical Keyboard Keycaps Stabilizers: Essential Guide for Optimal Typing